Hsb J Mv6 94v0 E89382 Bios New !!better!! -
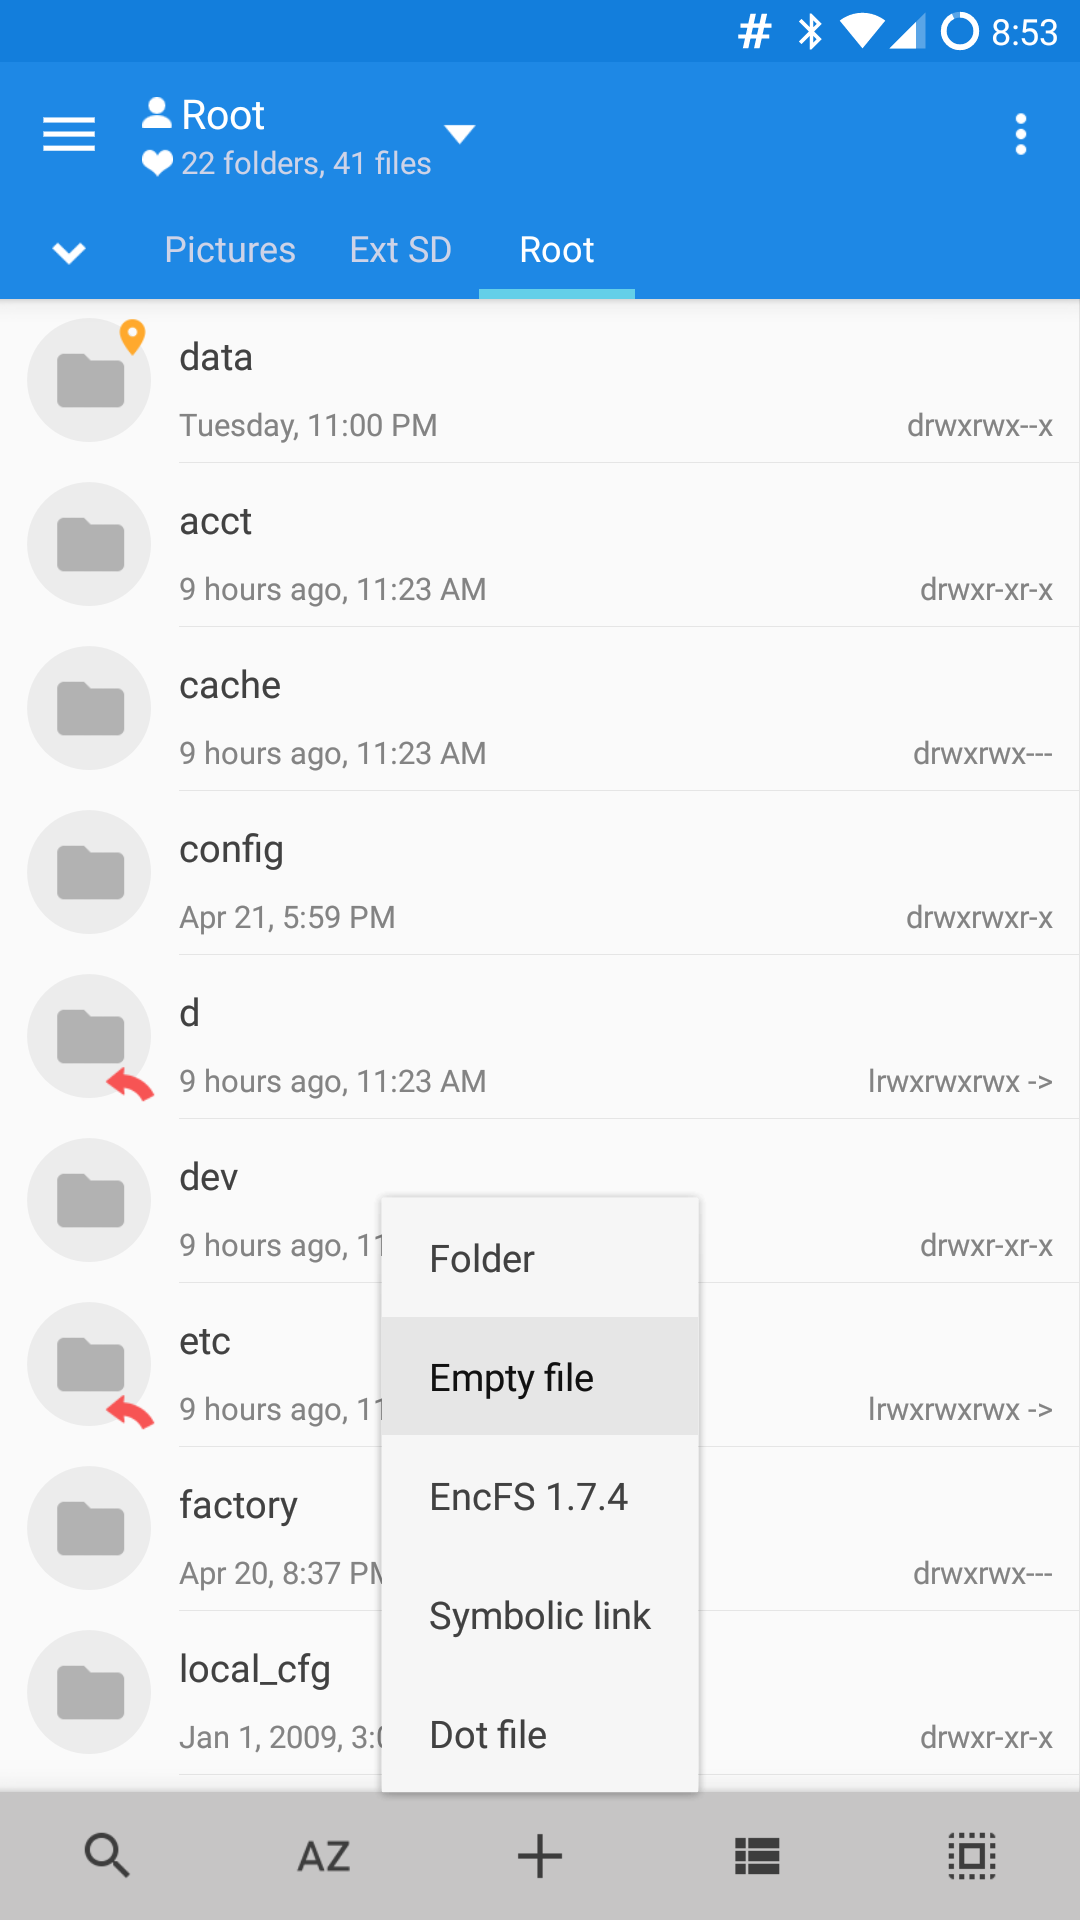
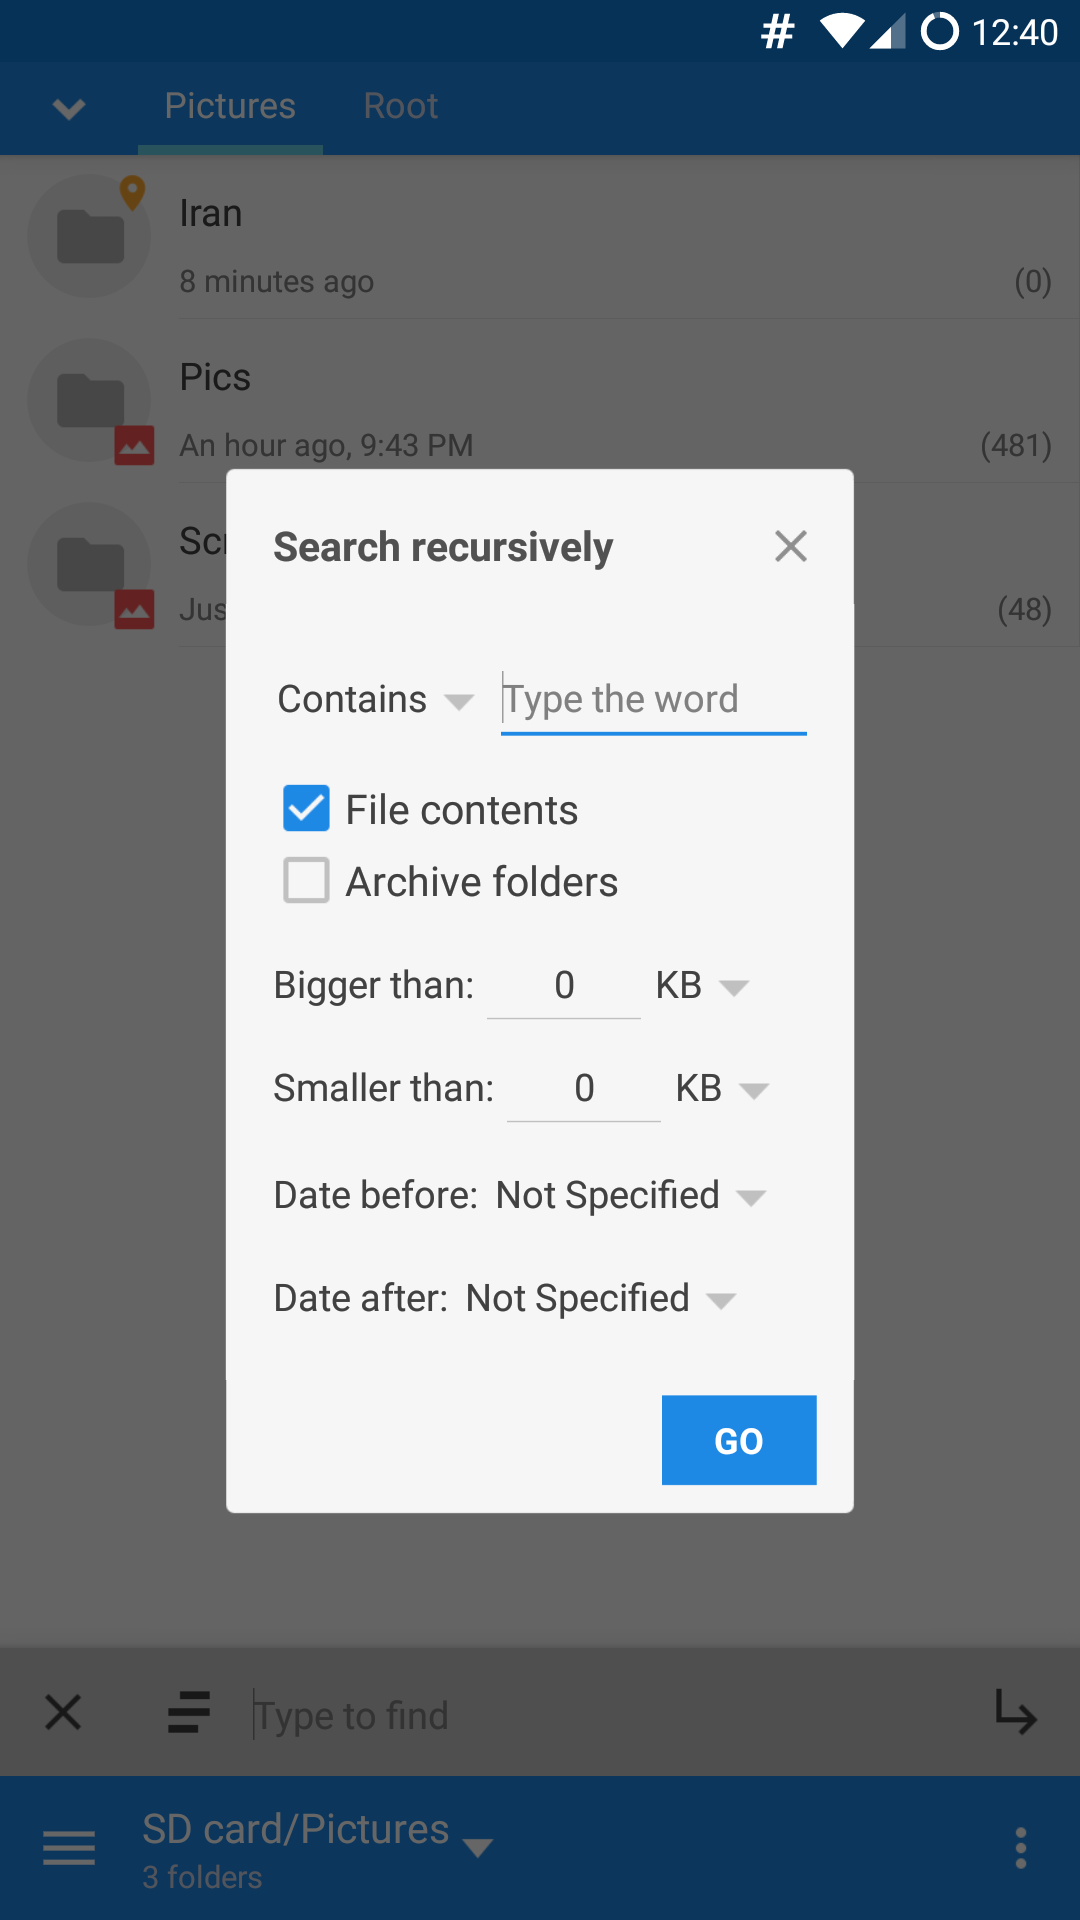
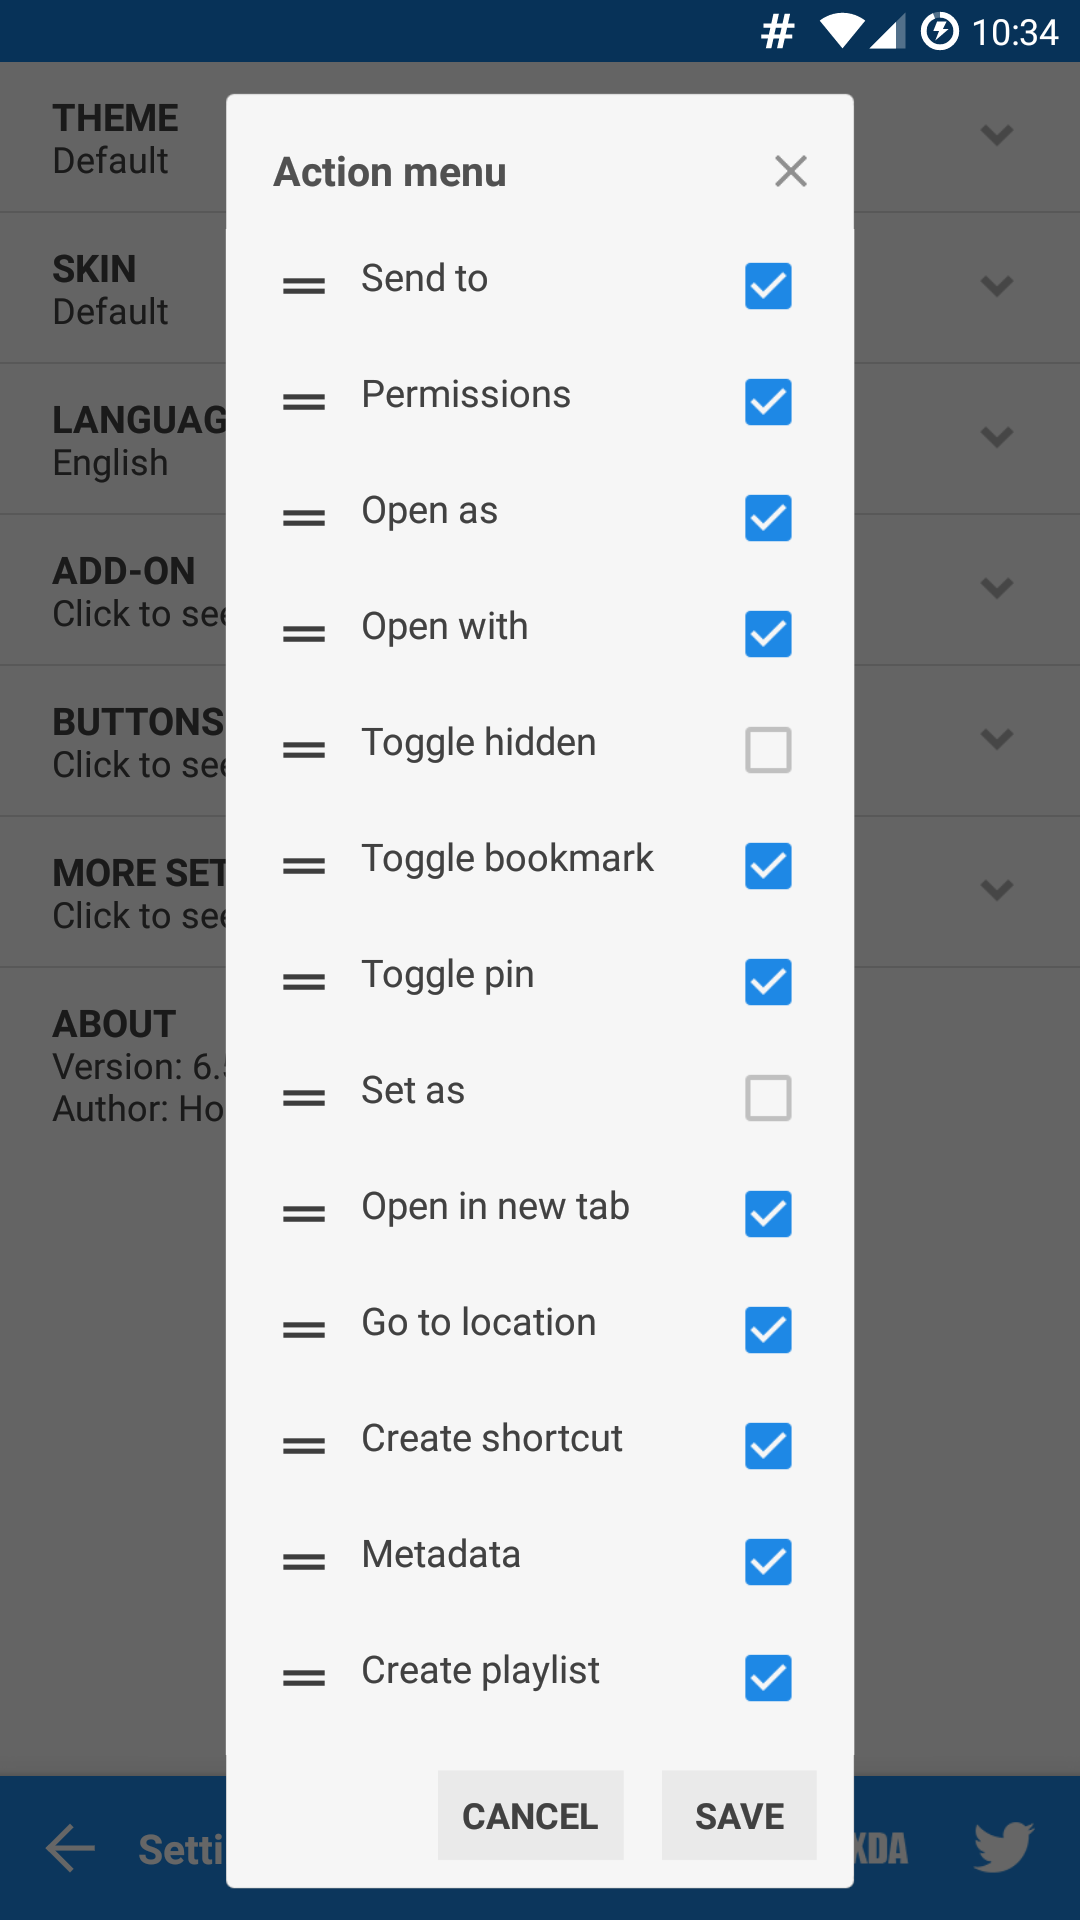
An Android file explorer

Download
: Unplug the power cable from the wall. Locate the coin-sized CR2032 battery on the motherboard. Remove it using a small flathead screwdriver. Wait 5 minutes, reinstall the battery, plug the PC back in, and turn it on.
Read and save a backup copy of the corrupted native firmware image currently on the chip.
: This part of the search phrase is the desired action . It clearly indicates you are looking for a new BIOS file, likely to fix a hardware issue or update the system. hsb j mv6 94v0 e89382 bios new
: These boards are known for BIOS corruption, DC power jack failure, and thermal issues. Replacement Parts
Ultimate Guide to Flashing and Troubleshooting the HSB J MV-6 94V-0 E89382 BIOS : Unplug the power cable from the wall
Copy this file directly to the root directory of your formatted USB drive. Step 3: Flash via the Motherboard Menu
: This is a UL certification number belonging to the PCB manufacturer (often HannStar ). Thousands of different motherboards share this number. Wait 5 minutes, reinstall the battery, plug the
Comprehensive Guide to the HSB J MV-6 94V-0 E89382 Motherboard and BIOS Updates
Understanding the "HSB J MV6 94V0 E89382" identifier is essential for sourcing correct parts and diagnosing problems. Remember that identifying the (including codes like 6050A2723701-MB-A02) is critical. BIOS files are model-specific and not interchangeable between variants.